


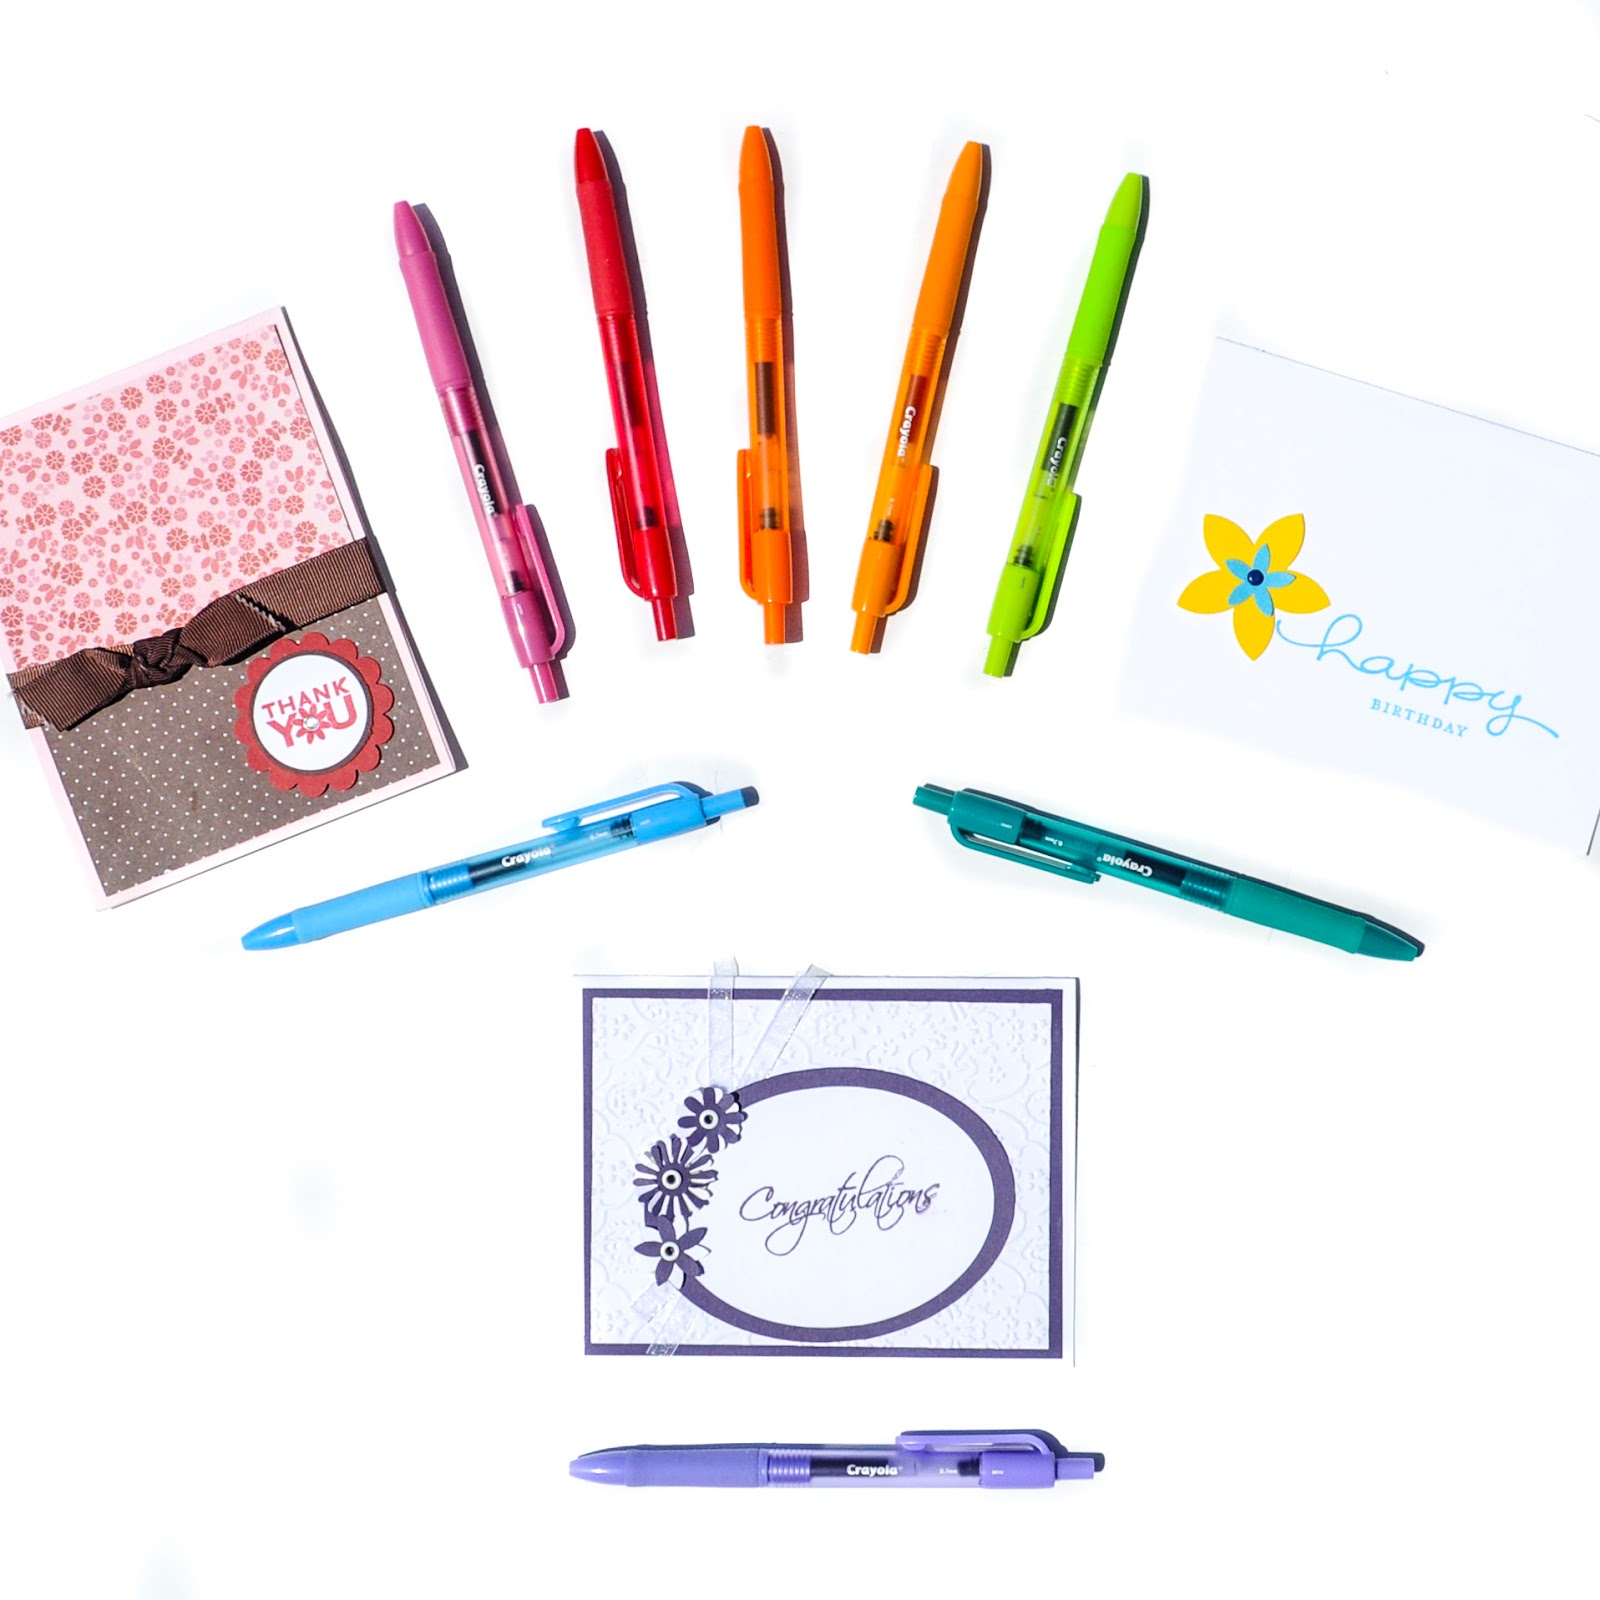
Do you have a stock pile of homemade cards to give to people? I love having a stock pile of cards made so I do not have to worry about making anything and I can give someone a homemade card. People really feel the love when you give them a card. I also like writing in them with the Crayola Take Note! pens. Crayola gave these to me to try and I use them every day. I write in my planner and in cards. I can not wait to show you how to make each of these cards with a Cricut machine. I have also teamed up with some other bloggers for some way cute Cricut flower ideas.
This blog post contains affiliate links.
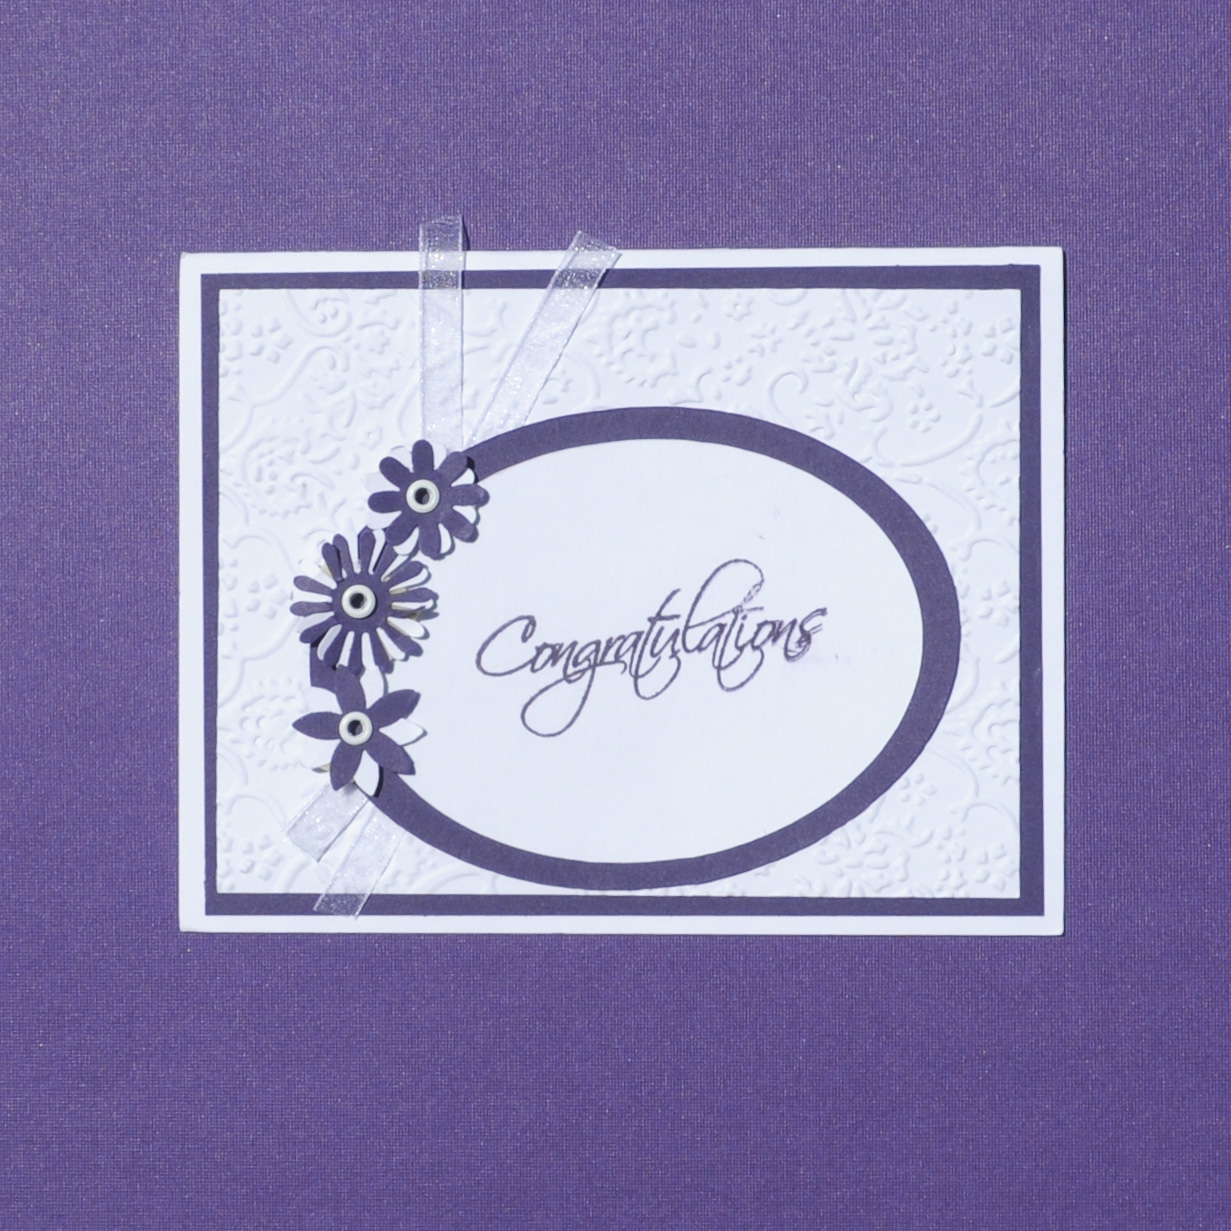
This card is probably the most complicated, but not that bad. I love using this card for new babies or weddings. The supplies for this card are:
 The steps to make this card are as follows:
 The steps to make this card are:
- white card stock
- colored card stock
- ribbon
- brads
- glue and adhesive
- card
- "Congratulations" stamp
- Make two rectangles in the Cricut, one slightly smaller than other on each color.
- Make two ovals, one slightly smaller than the other on each color.
- Make flowers on both colors.
- If desired use a Cricut Cuddlebug to put an embossed pattern on the smaller rectangle.
- Use a stamp to stamp "Congratulations" on the smaller oval.
- Glue the rectangles and ovals to one another and then put the oval on the rectangle.
- Use the brad to put the flowers together.
- Use adhesives to put the flowers on the card.
- Tie a bow with the ribbon, adhere to the card.
- Adhere the completed design to the card.
This next card is super easy. The flower adds a very nice touch. The supplies for this card are:
- White sheets of card stock
- Marker for the Cricut
- Bead sticker
- Two different color card stock sheets
- Glue
- Make a rectangle in the Cricut design software for the desired size of the card.
- With the Cricut software position "happy birthday" text on the card. Make sure to put the exact size of your card.
- Cut the card and have the Cricut machine draw "Happy Birthday"
- Cut two flowers vastly different sizes with the two pieces of card stock.
- Fold the cut rectangle.
- Glue the flowers to the card.
- Put the bead sticker over the flowers. And it is done!
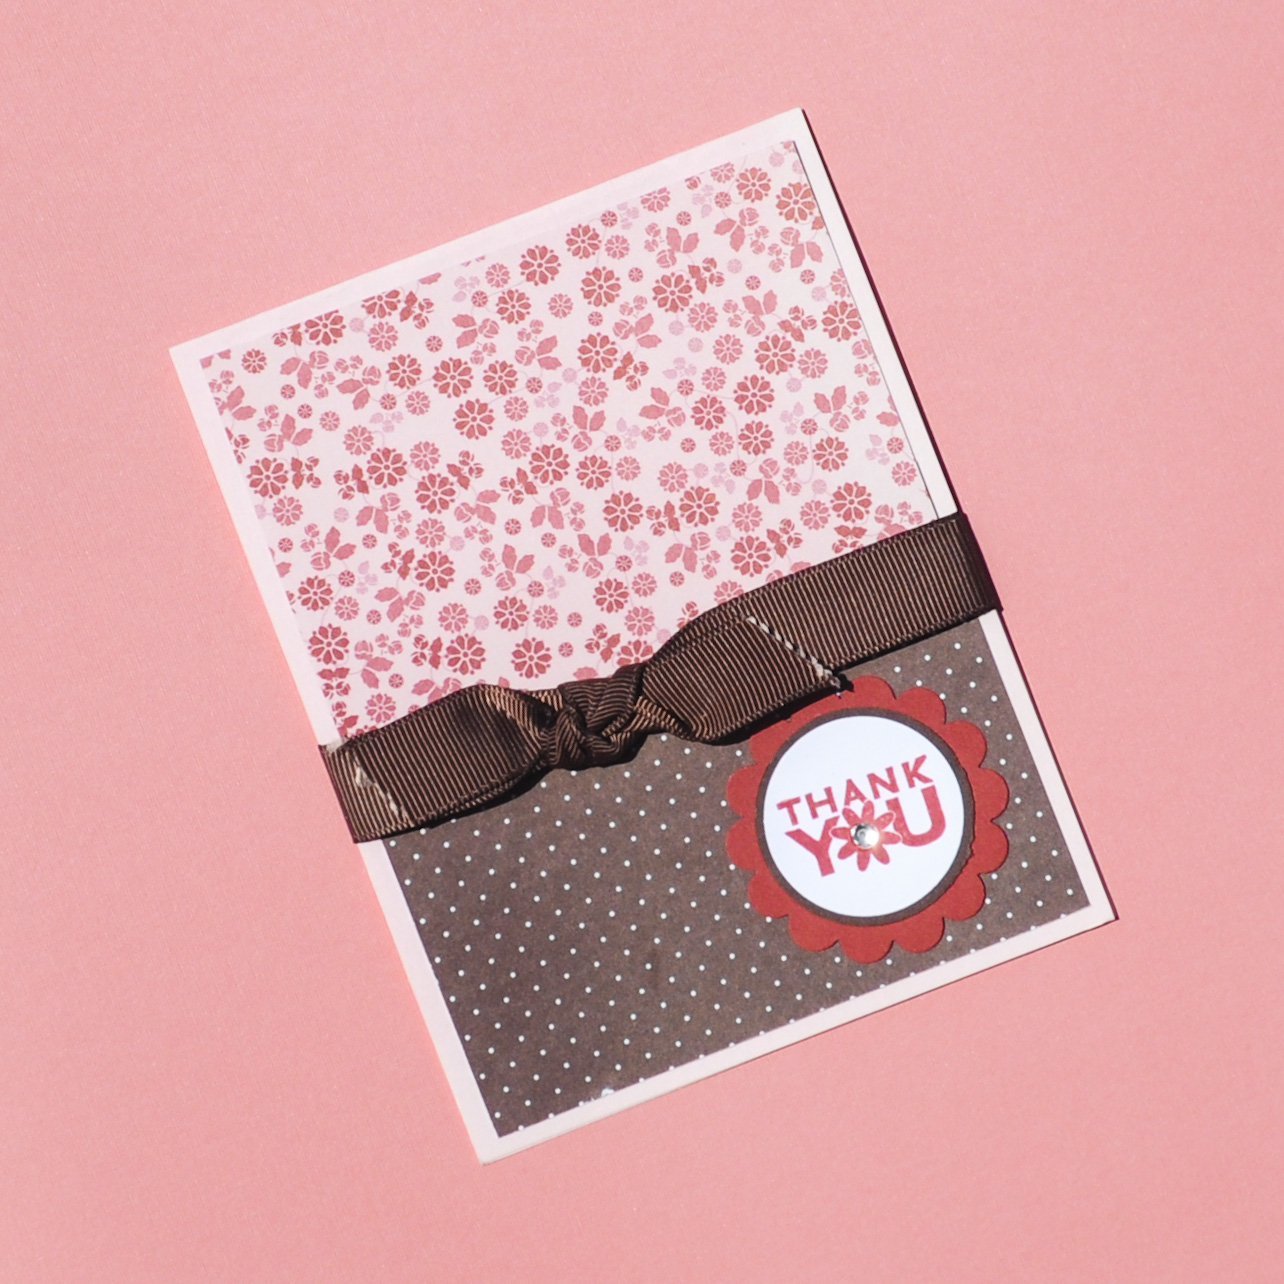
- Two patterned cardstock sheets
- One ribbon
- 3 colors card stock
- adhesive
- Bead sticker
- Thank You stamp
The steps to make this card are:
- Cut two rectangles with the card stock on the Cricut.
- Cut two circles on slightly smaller than the other.
- Cut a flower design with the Cricut.
- Glue the two rectangles to the card.
- Glue the flower to the two circles and then to the card.
- Stamp "Thank You" on the circles.
- Glue the flower to the card.
- Tie a know with the ribbon. Cut the ribbon slightly larger than the width of the card. Adhere the ribbon to the card.
I hope you enjoyed these fun cards. I love having them around to give to those special people in my life.
I've joined with some other friends to show some fun flower themed Cricut ideas. Check them out.
We've even teamed up for an awesome giveaway!
a Rafflecopter giveaway
We've even teamed up for an awesome giveaway!


These are such pretty cards! Thanks for joining the Summer of Flowers event!
ReplyDelete