


Check out some other pumpkin inspired crafts.

Create the most adorable DIY Fall Wreath with Pom Pom Pumpkins by following the tutorial on Laura’s blog Me and My INKlings.
Learn How to Draw a Pumpkin with step-by-step instructions from the talented Smitha of Smiling Colors. Download her free printable guide.
Laura with Laura’s Crafty Life has created a Mini Pumpkin Wreath with easy to find supplies from Dollar Tree. Just gorgeous!
Create Pumpkin Contact Paper Suncatchers with a quick tutorial from Shani at Sunshine and Munchkins. A fun and easy fall craft for even the littlest crafters.
So creative and unique, learn how to Make an Easy Mod Podge Map Pumpkin for travel enthusiasts. Justine from Little Dove Blog shows you all the steps.
Erica from 5 Little Monsters is sharing her Alpine Stitch Crocheted Pumpkin, complete with a full set of patterned instructions, so you can create your own!
Learn how to make DIY Wooden Pumpkin Blocks with a step-by-step tutorial from Kelsey at Poofy Cheeks and learn what she used to stencil these beauties.
Katie, the Crafty Blog Stalker is sharing a gorgeous Hand Painted Pumpkin, and we love her color palette of white and gold.
Simple strips of colored paper have never looked so good then when Chelly from We Can Make That shows us How to Make Paper Pumpkins.
Jewels and buttons transform into the most elegant Bejeweled Pumpkin Art created by the talented Jane of DIY by Jane. Simply stunning!
Beth with Creatively Beth can transform any found object into a pumpkin with some paint. We think that her Recycled Mini Bundt Pan Pumpkins are adorable.
Inspired by her favorite characters, Lindsay of Artsy Fartsy Mama has created No-Sew Fabric Pumpkins. Click through for the full tutorial.
Take adorable to the next level with Upcycled Crochet Thread Ball Pumpkins created by Beth of Creatively Beth.
We are always in for the glam creations that Lindsay of Artsy Fartsy Mama makes with resin. Her Pastel Pumpkin Charms do not disappoint!
Liz with Liz on Call loves sharing her free printables with the world and we are all in for her modern patterned Pumpkin Coloring Sheet.
Take your water coloring skills to the next level with a fun and funky Free Pumpkin Template and Tutorial from Heather at Homemade Heather.
Blanca from Creativities Galore is all about the glitter with her sparkling DIY Pumpkin Bookmarks. Click through for the full instructions.
We love a good project that fools our eye and this Cement Look Pumpkin Cup from Candice of She’s Crafty has us all doing a double take.
Transform your mantel with simple supplies from the Dollar Tree with Michelle of Michelle’s Party Plan-It. Her Pumpkin Mantel Décor is elegant enough to leave up all season long.
Beth with the Ruffled Daisy shows us how to create an Aged Metal Pumpkin with simple supplies and a full tutorial.
Styrofoam balls and yarn go along way with these simple DIY Yarn Pumpkins for your mantel or tablescape. Diana from the Girl Creative is sharing her instructions.
Marissa from Rae Gun Ramblings has created a complete tutorial covering all of her Painted Pumpkin Tips and Tricks, so check them out today.
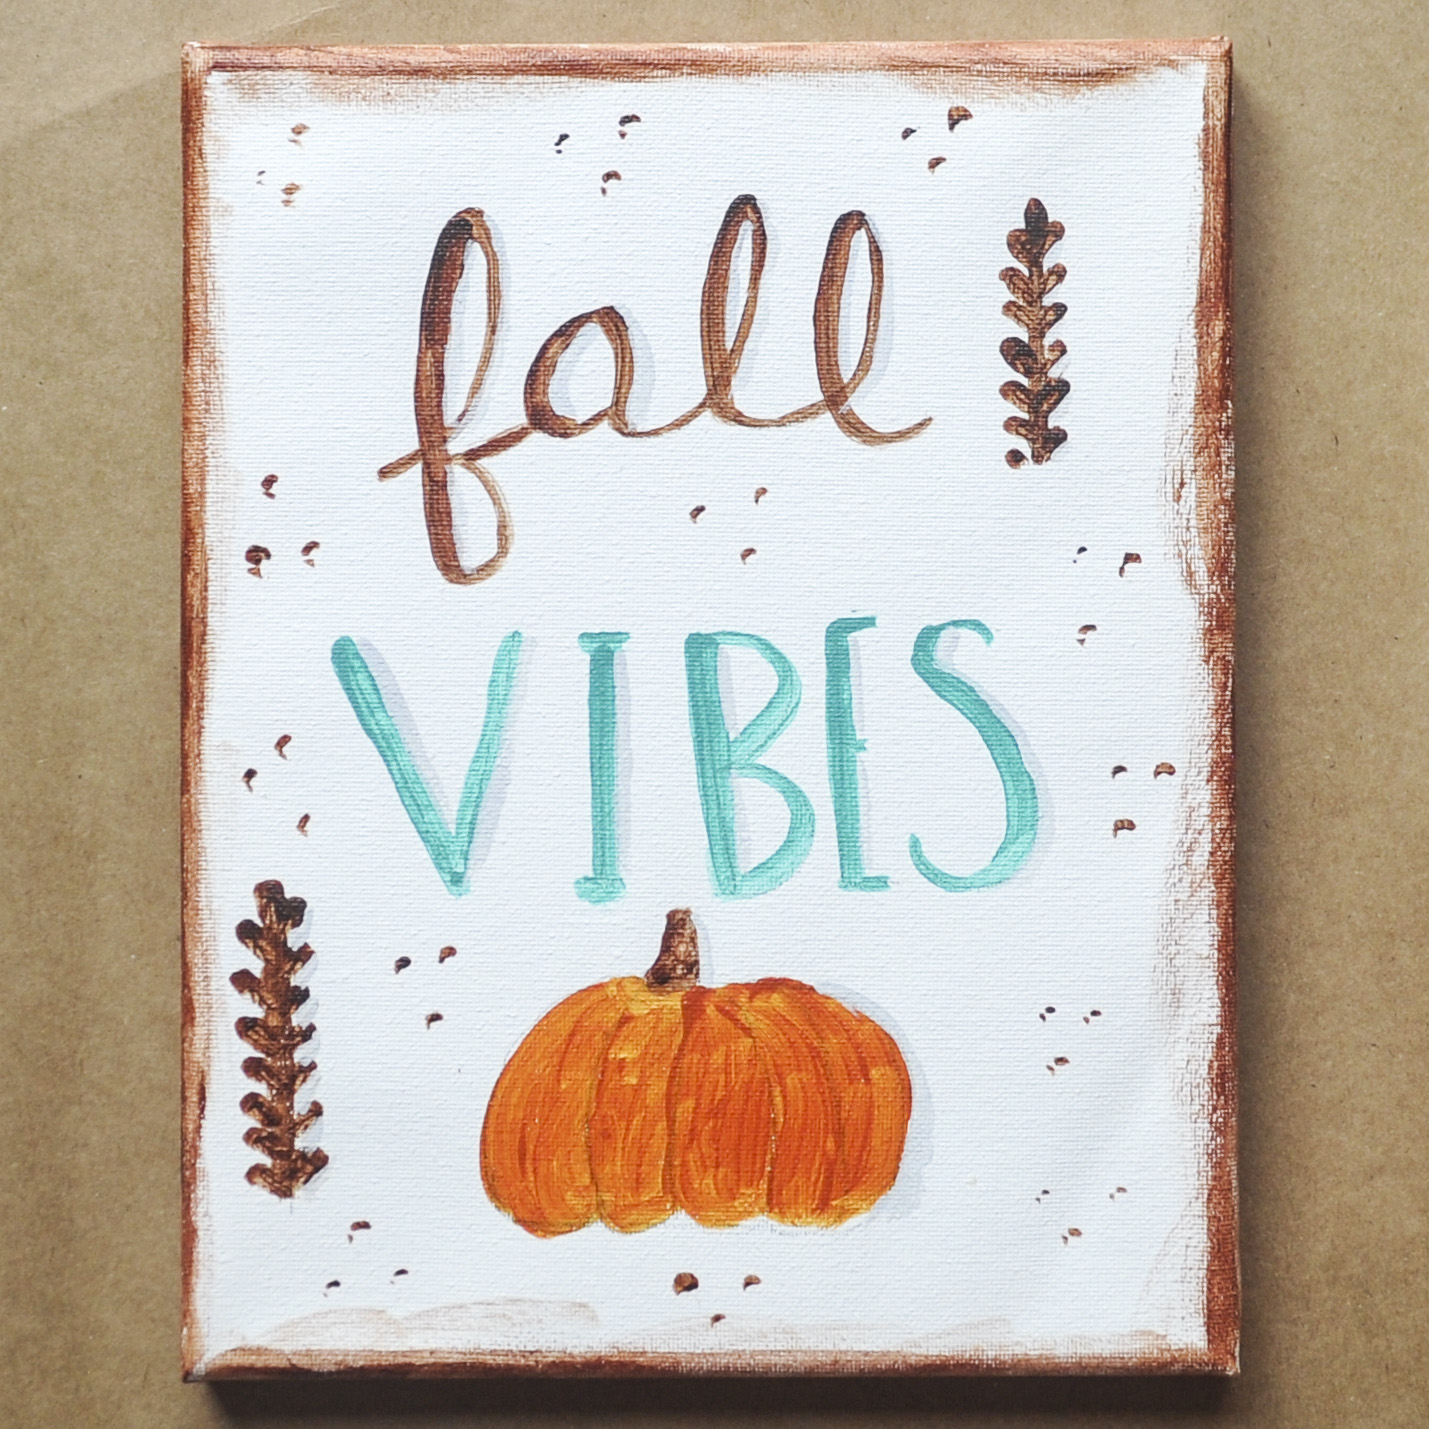
Take a simple plaque to the next level with a colorful DIY Stained Wood Pumpkin created by Laura of Me and INKlings. Click through to see how she made it!


Love It awesome project
ReplyDelete