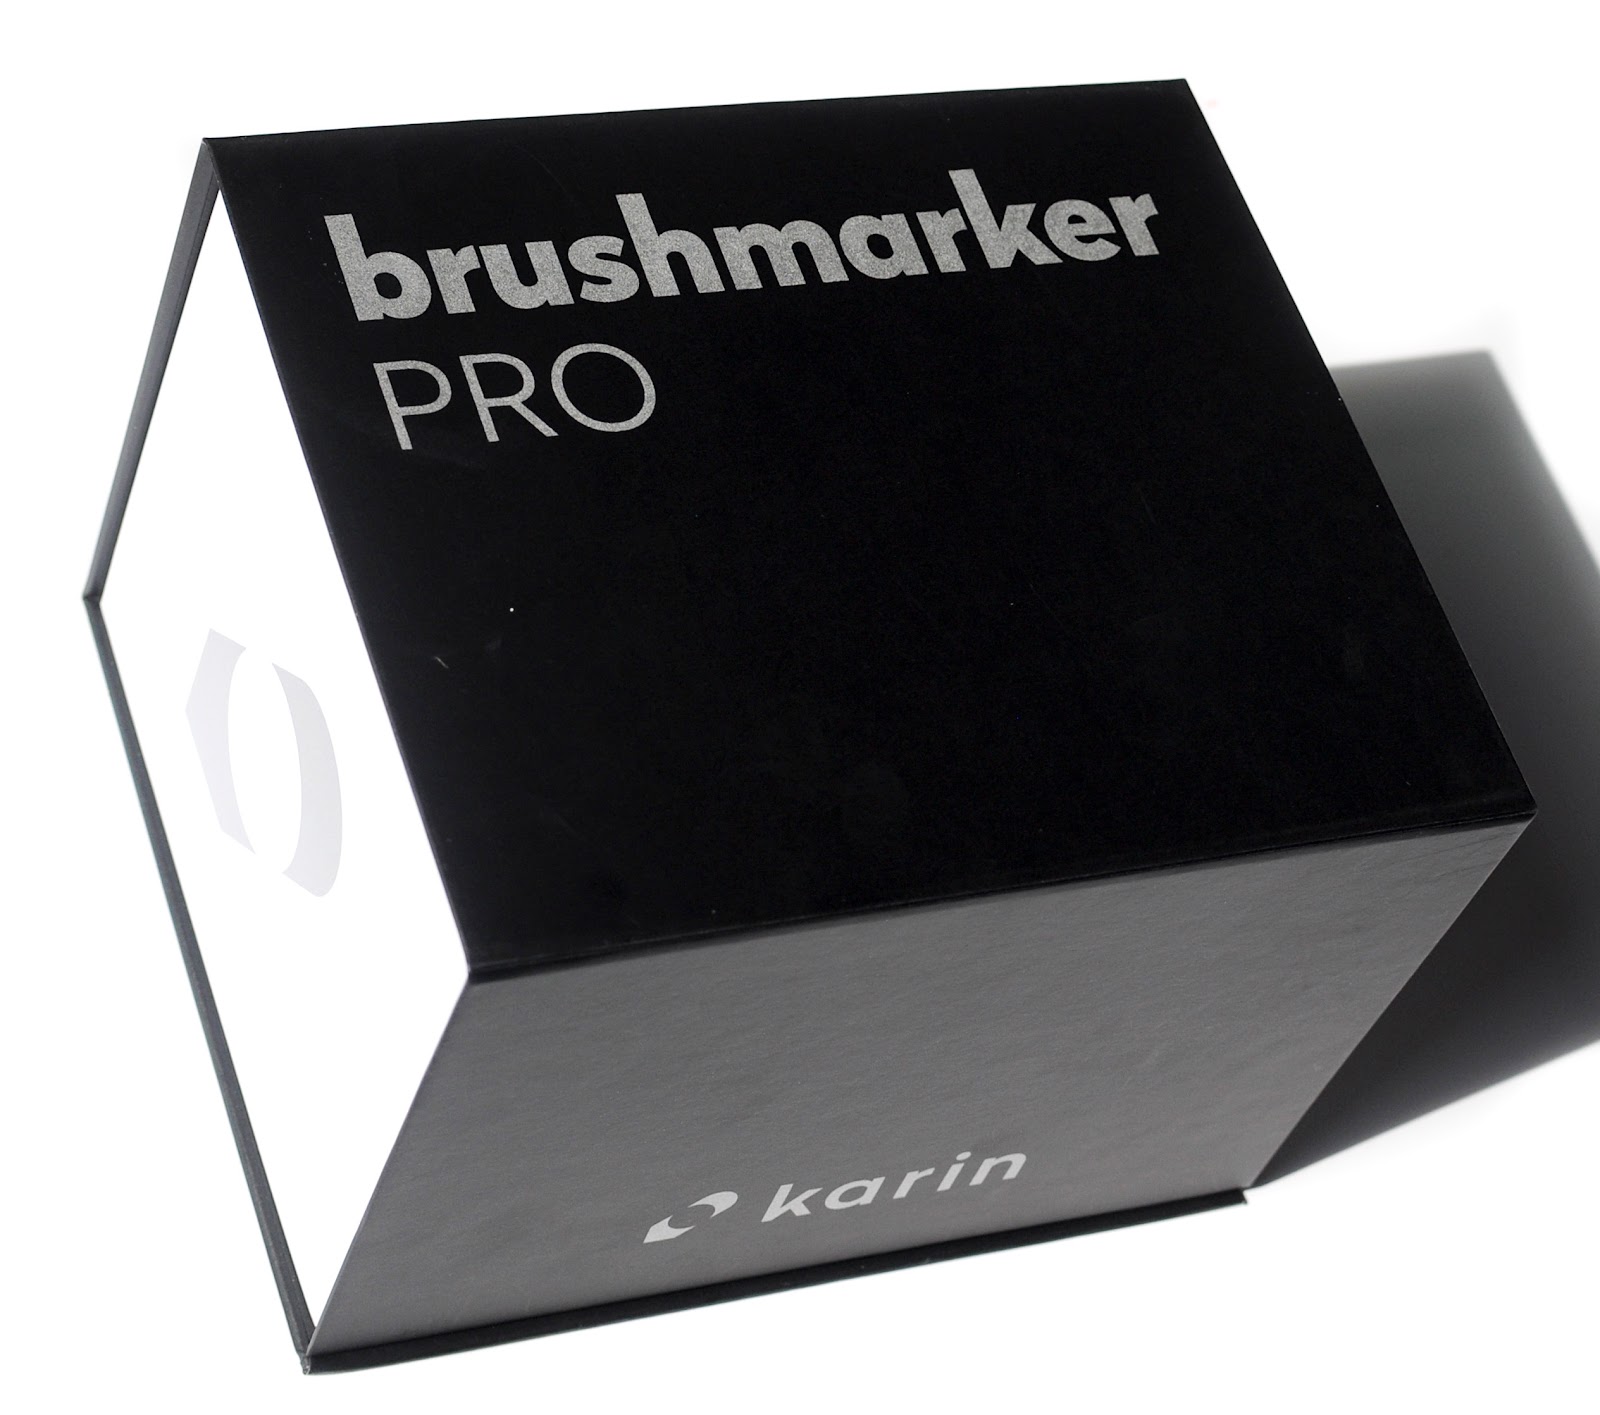
63 Karin Brushmarker Pro Markers

One of my followers, Danielle told me that Karin markers were incredible! And now I know they seriously are. I have been trying to do more lettering this year and knew I needed to try these out. I had struggled lettering with Tombow markers and it was difficult. Lettering with the Karin markers was much easier. They are a GREAT lettering marker for beginners.
Karin markers are a dye-based marker and the neon colors are a pigment based. Pigment molecules are much larger than dye based molecules and need to be shaken to make sure the pigment is evenly spread. Pigment has the advantage of being more lightfast than dye. Each marker contains ml of dye and have a durable flexible nylon tip. They are made in Poland.

Karin sent me these markers in exchange for an honest review. This blog post contains affiliate links.


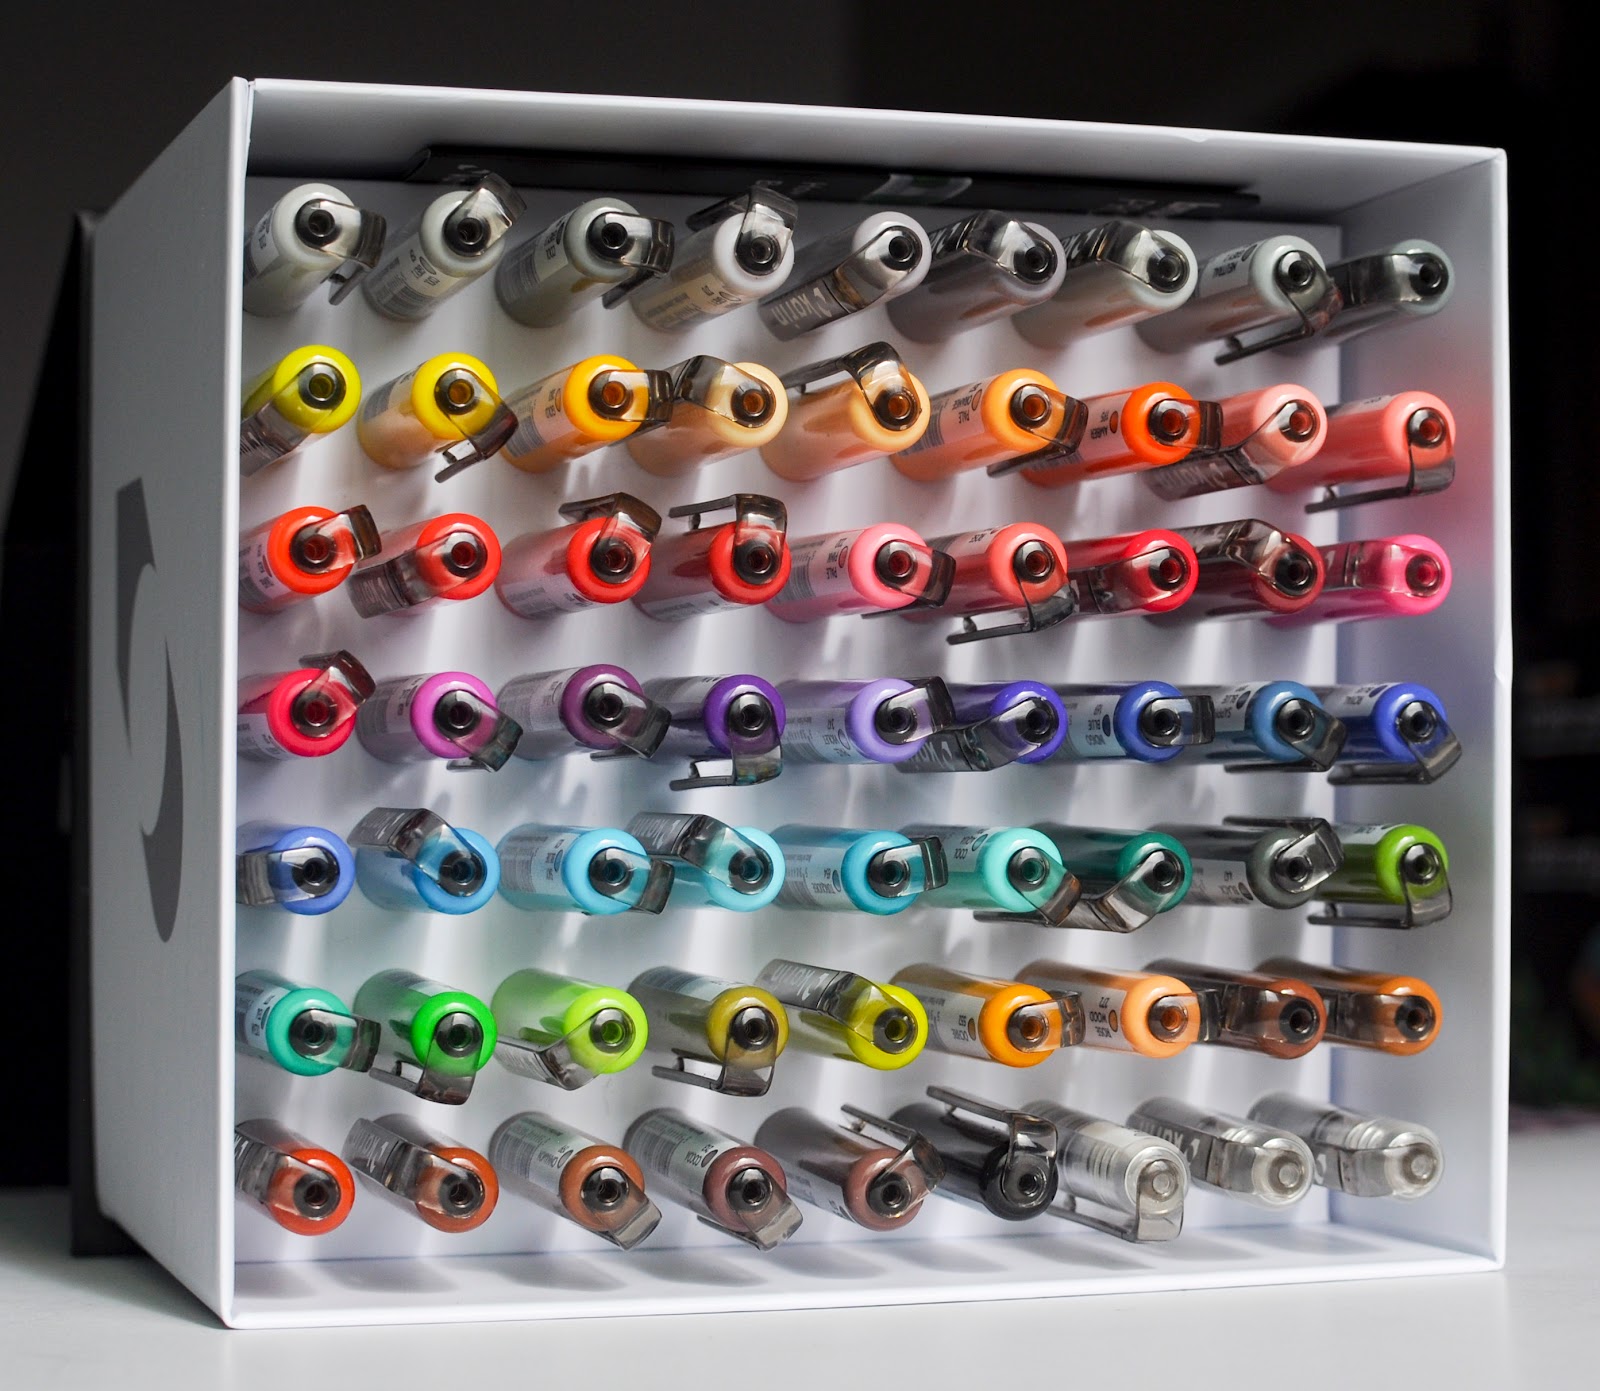
The markers come in a box that has a spot for each of the markers. The markers were a little hard to pull out, but that is probably because it has not been used much. It is recommended to store these vertical.

Color Information
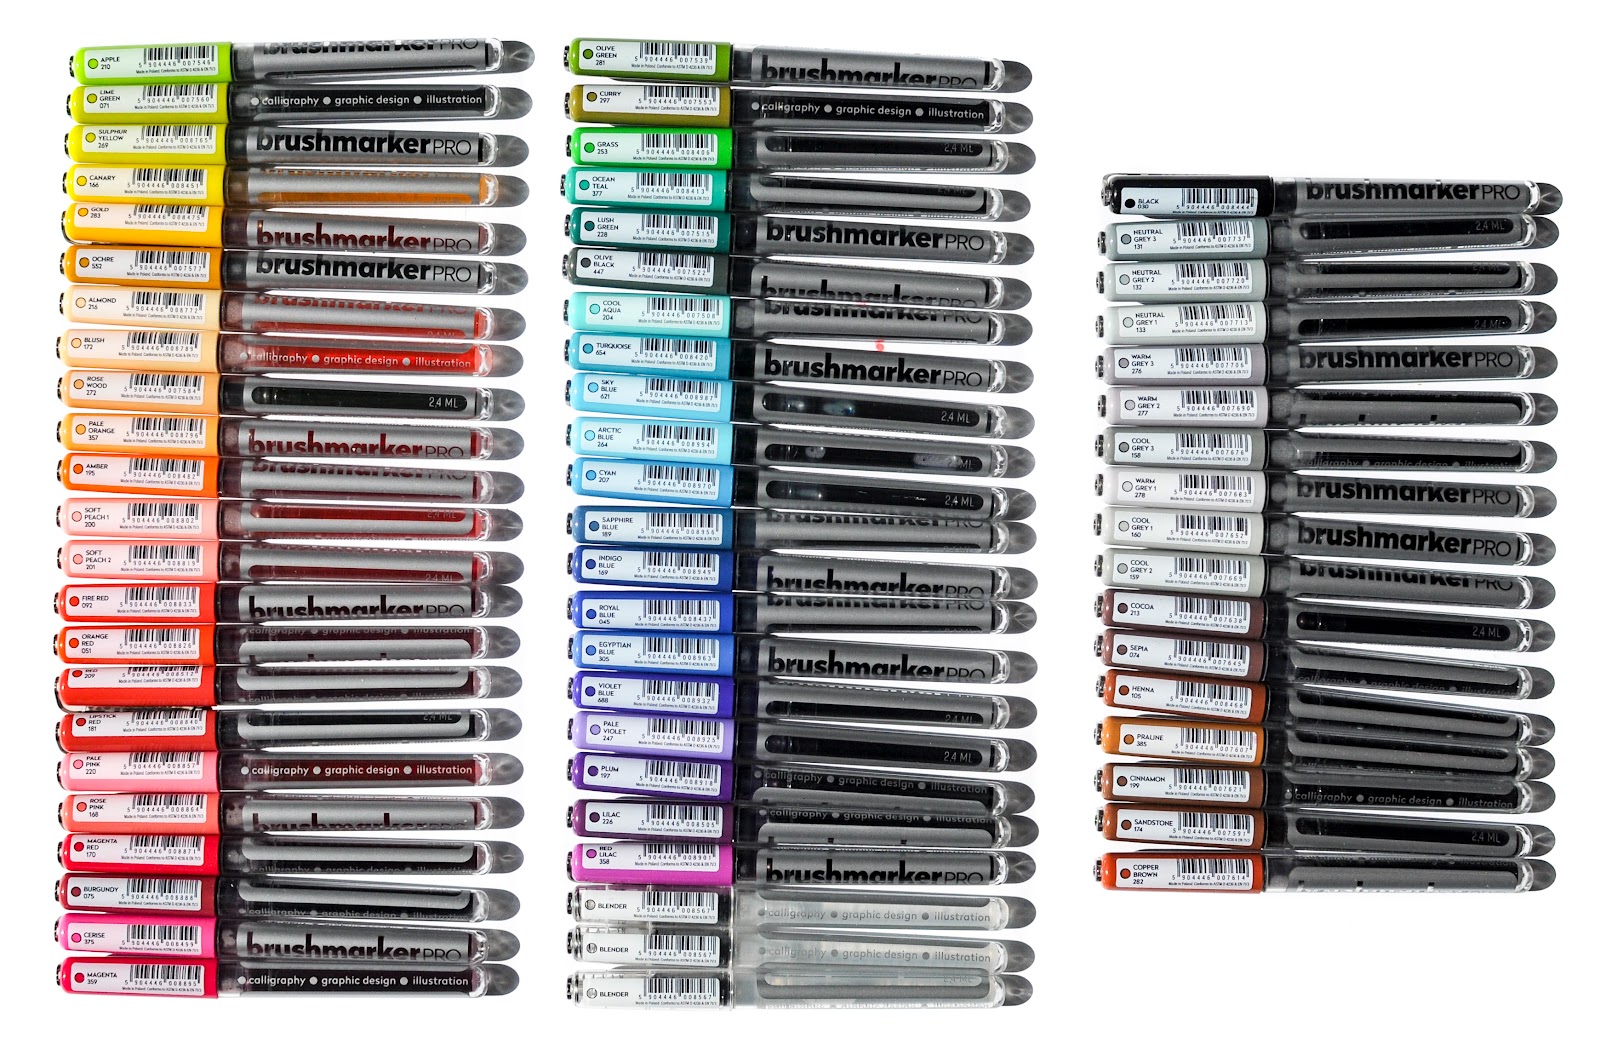
The colors come with a name and a number. There are 3 blenders in the set which is super nice to never run out of a blender. The markers are individually labeled and have barcodes on each. The only thing that is a concern is they do not have an AP label. They are new to the US market. Hopefully in a couple years this will get remedied. This is the symbol that the ACMI association has tested and labeled the markers non toxic. It does not have it so there is no way to know.

The markers had some amazing laydown properties. I just did the swatch chart in the order they were in on the box. I made it to practice filling in an area akin to coloring and a place to practice lettering strokes. The colors filled in very nicely all except the grays, they were a little streaky. Click here to get this swatch chart.


What's inside the box: 
  • The colors in the 63 count Karin Brushmarker Pro set are: APPLE 210, LIME GREEN 071, SULPHUR YELLOW 269, CANARY 166, GOLD 283, OCHRE 552, ALMOND 216, BLUSH 172, ROSE WOOD 272, PALE ORANGE 357, AMBER 195, SOFT PEACH 1 200, SOFT PEACH 2 201, FIRE RED 092, ORANGE RED 051, RED 209, LIPSTICK RED 181, PALE PINK 220, ROSE PINK 168, MAGENTA RED 170, BURGUNDY 075, CERISE 375, MAGENTA 359, OLIVE GREEN 281, CURRY 297, GRASS 253, OCEAN TEAL 377, LUSH GREEN 228, OLIVE BLACK 447, COOL AQUA 204, TURQUOISE 654, SKY BLUE 621, ARTIC BLUE 264, CYAN 207, SAPPHIRE BLUE 189, INDIGO BLUE 169, ROYAL BLUE 045, EGYPTIAN BLUE 305, VIOLET BLUE 688, PALE VIOLET 247, PLUM 197, LILAC 226, RED LILAC 358, 3 BLENDERS, BLACK 030, NEUTRALY GREY 3 131, NEUTRAL GRAY 2 132, NEUTRAL GREY 1, WARM GREY 3 276, WARM GREY 2, 277, COOL GREY 3 158, WARM GREY 1 278, COOL GREY 1 160, COOL GREY 2 159, COCOA 213, SEPIA 074, HENNA 105, PRALINE 385, CINNAMON 199, SANDSTONE 174, COPPER BROWN 282  
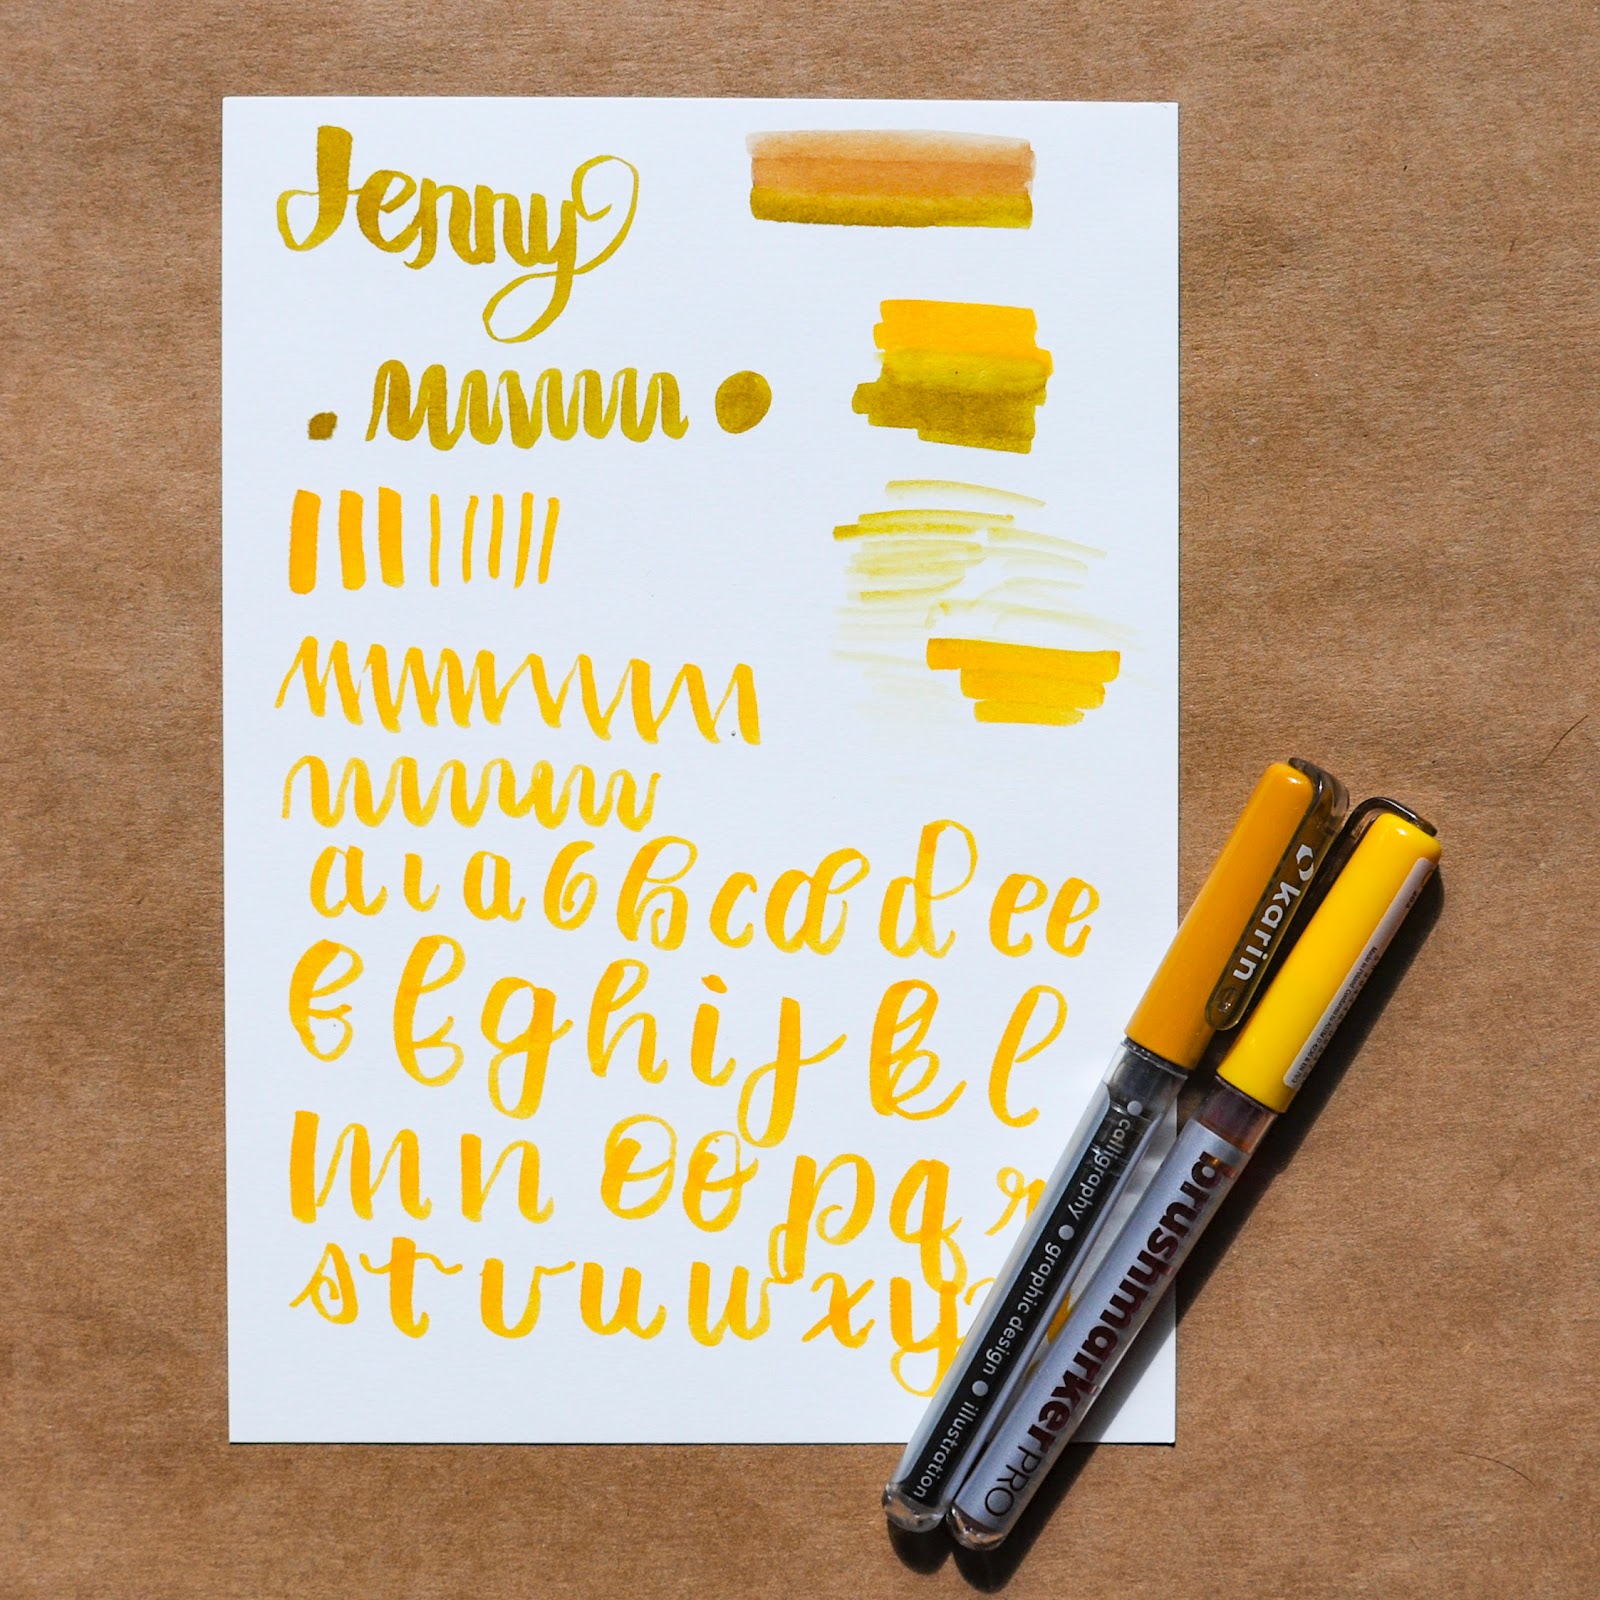
I immediately pulled these out and practiced with them. I think they will be my marker of choice to practice lettering! I practiced my name, blending, all the lettering strokes, and all the letters. Practice makes perfect right?


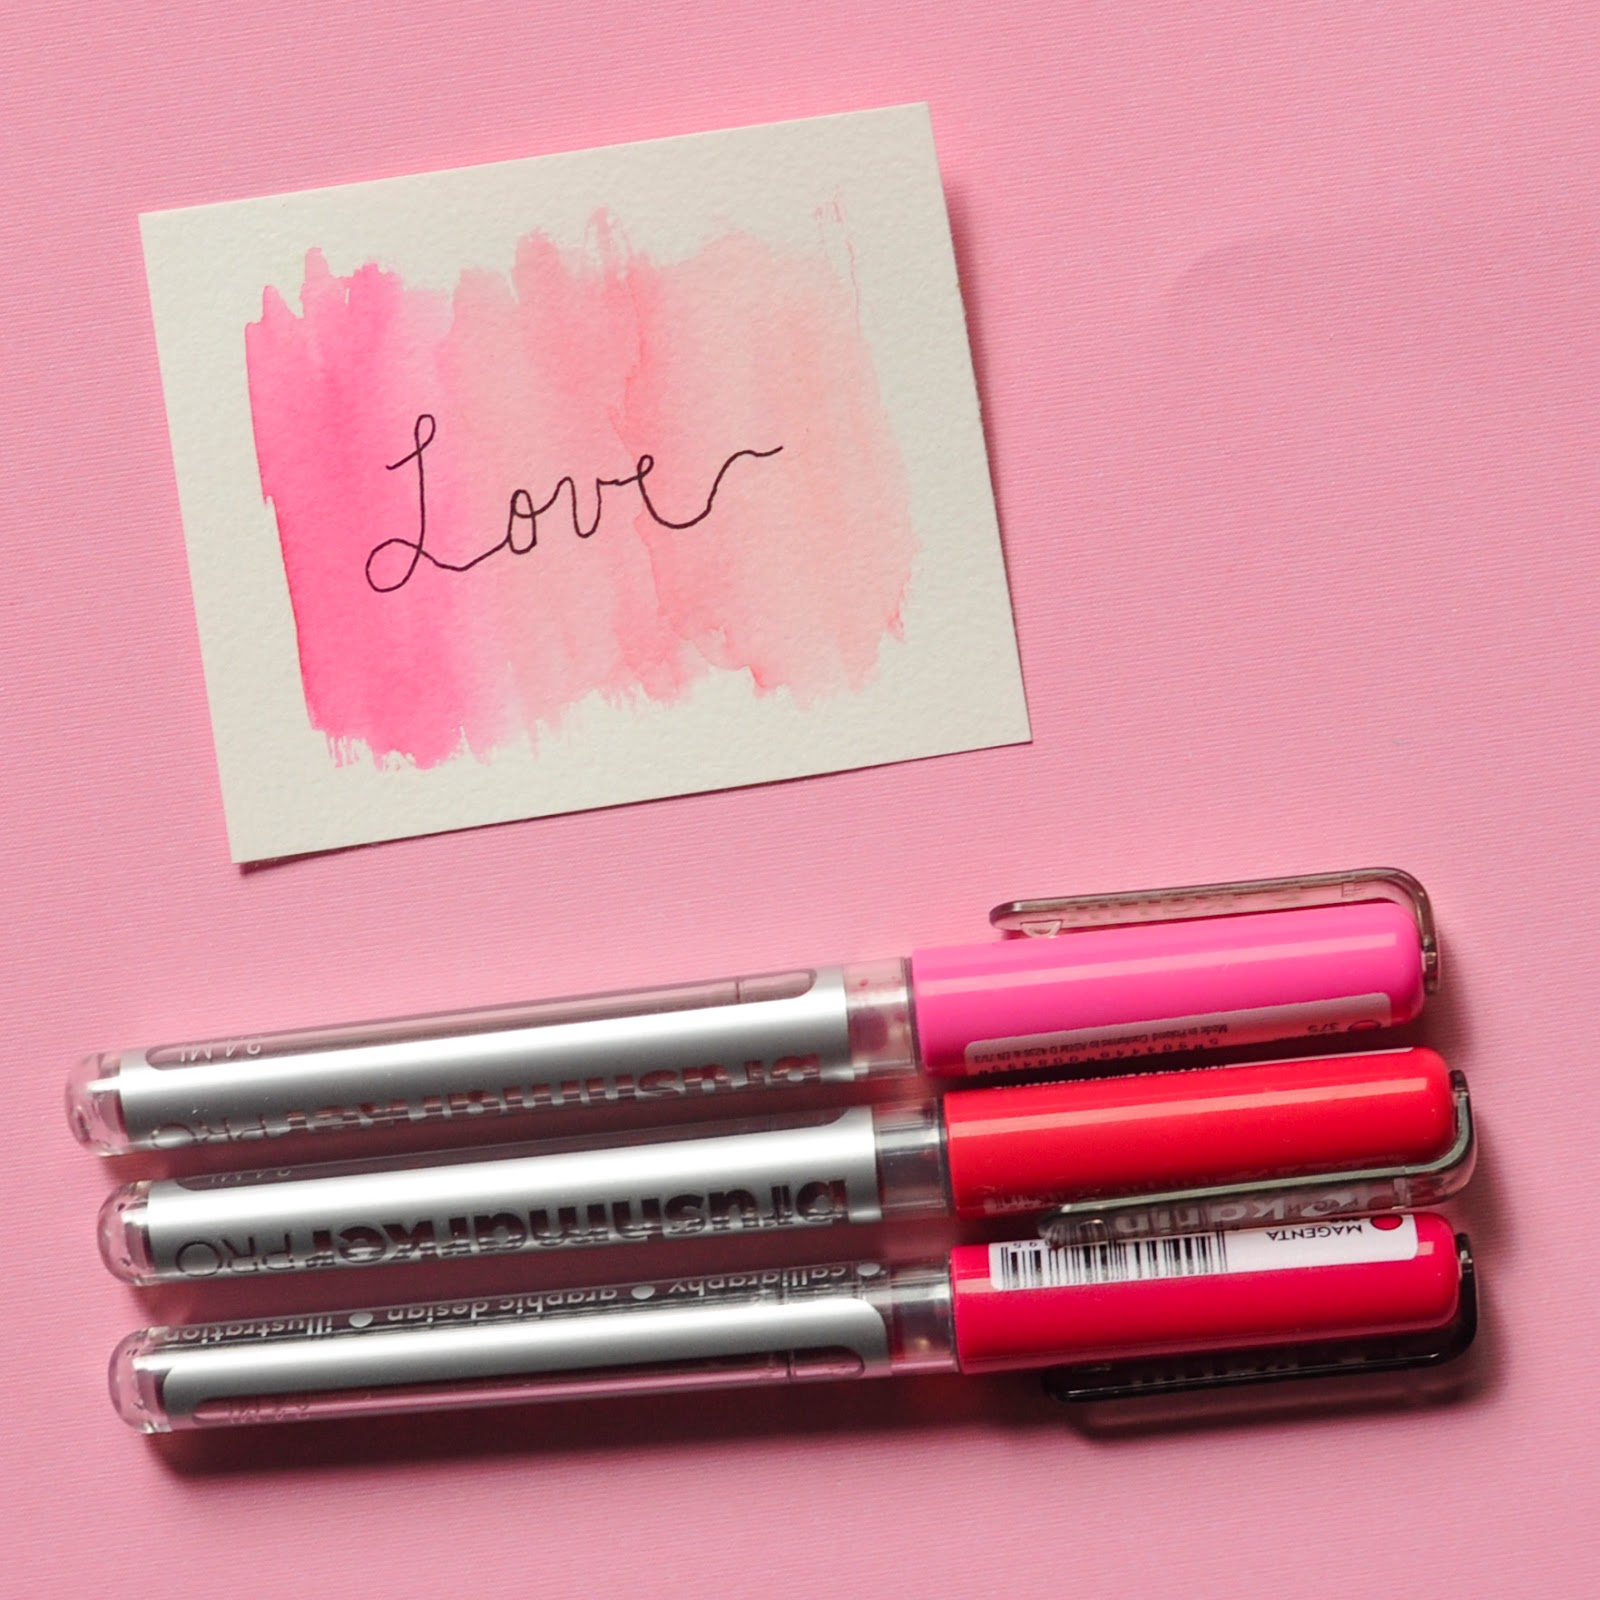
This technique was accomplished by using a water brush. I wrote on a plastic surface, applied water with the brush and then painted it on the paper. I used a fine liner to write the word love.


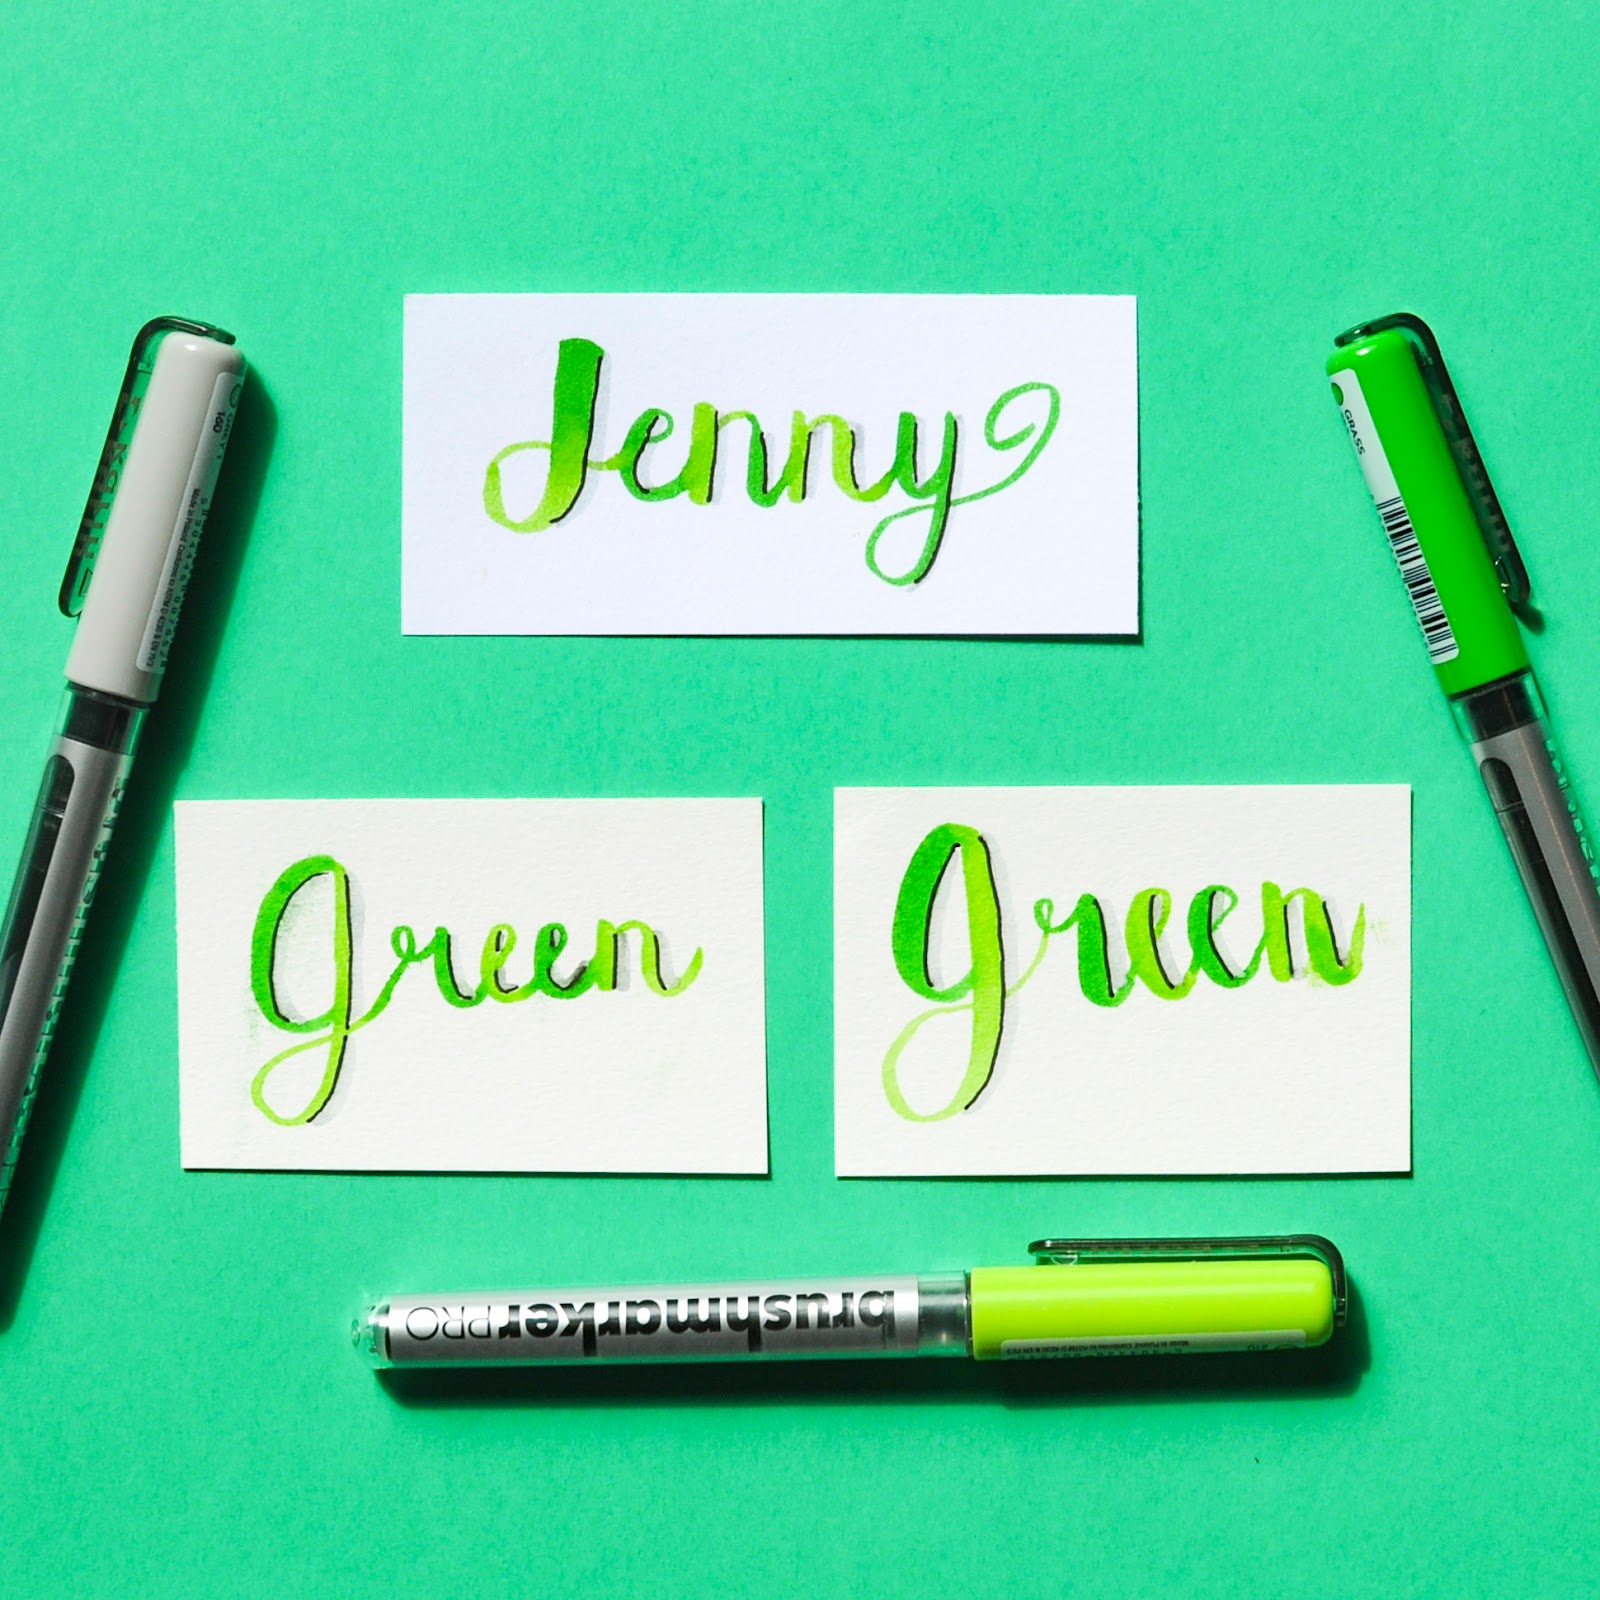
Here is lettering I practiced for Earth Day coming up. To get a good blend I pulled the neighboring color down a little bit when I was lettering. The down strokes are nice and wide, but I was also able to achieve a small upstroke.


I used the blender to make this watercolor. I colored the marker on a plastic surface. Then I painted the flower.


Here is the box info for the markers. 
Collecting Information 

Boxes: 63 Karin Brushmarker Pro Markers
Year: 
Purchase Information: Gifted
Where to buy: Blick.
Part Numbers: 27C7 Brushmarker PRO Mega Box 60 colours + 3 blender set
UPC Numbers: 5904446025663
Manufacturing Location: Poland
Here is the top of the box.

Here is the side of the box.
Here is another side of the box.
And here is an orthographic view of the box.

Read More »

10 Ways to Blend Colored Pencils with 7 Different Colored Pencils

Colored Pencil Blending...it was something I wanted to do a deep dive into, I even bought all the supplies for it a year ago, but never got around to it. But in the beginning of 2022 I knew I wanted to give it a go. I created a chart, grabbed all the colored pencils I wanted to try and pulled out all of the different blenders I had collected. The results I found were super interesting.

This blog post contains affiliate links.


10 Different Ways to Blend

10 Different ways of blending colored pencils include:

Wax Vs Oil Based Colored pencils
The different colored pencils will blend differently because the colored pencils are comprised of different materials. A colored pencil can either be wax or oil based. 

Wax based colored pencils use wax to bind with the pigment and then are encased in wood. They are generally softer than oil based colored pencils and blend really well if the wax is high quality. This also means the wax based colored pencils will break more easily. Wax based colored pencils are also more prone to blooming, ie when the wax comes out of the pencil and appears as a white film on the colored pencil lead. 

Oil based colored pencils use oil to bind with the pigment of the colored pencil and are also encased in wood. Oil based pencils are usually the more professional art supply because they create a more polished look than the wax based colored pencils.

It seems to be a secret which colored pencils are wax based and which are oil based. It is not directly advertised on the packaging.

For the colored pencils I used in this experiment the following pencils were wax based
The following pencils were oil based:
10 Blending Methods Explained and Tested

Here are the results with each method explained. I tested these all on Neenah Bristol Cardstock, which is not super toothy but enough so to really get the pigments out of these pencils. The results vary depending on how well the blender was able to mix with the colored pencils. I will warn that using anything other than the blending methods provided by a company may reduce the lightfastness of the colored pencils.

To see me testing each method watch the YouTube video or scroll on to see the results.


Each of these blending methods produces different results and more than one can be used in a drawing or coloring piece.

Layering is putting down one light color at a time. It is the basis for all of the methods below. There is no pushing hard in this method.
Burnishing starts by layering each colored pencil lightly and then at the very end pushing down really hard with each color on the final layers. The colors become very saturated and dark.

Burnishing with white starts with the layering method and then instead of burnishing with the original colors a white pencil is used. This creates a pastel blend. A lighter color other than white such as gray or another lighter base color could be used also with this method.

The next three blending methods use a colorless blender approach. The colorless blender is applied like a pencil and blends the colored pencil by mixing and unifying colors together. Some colored pencils are easier to blend than others, but for the most part the Caran d'ache did the best job.

Caran d'ache full blender blending starts with the layering method and then uses a colorless blender over the original pigments to bring out the pigments, fill in the white spaces and mix the colors together. This results in a blend that is lighter than the burnishing method, but still very saturated. The Caran d'ache blender was my favorite blender stick or pencil to use. It is not encased in wood, but can be sharpened like a pencil. I have researched and it also comes in a pencil form or just as a full stick. It does say in the product description that the blender will improve lightfastness.
Lyra Splender blending starts with the layering method and then uses a colorless blender to bring out the pigments, fill in the white spaces and mix the colors together. I found that this method left a lot of flakes on my drawing.
Prismacolor Colorless Blender blending starts with the layering method and then uses a colorless blender to bring out the pigments, fill in the white spaces and mix the colors together. This method was most similary to the Lyra Splender. It left a lot of flakes behind and was not as smooth.
Finese Pen blending is basically blending with an alcohol based marker that is packaged as a blending pen. Any alcohol based marker will do. The method starts the same with the layering step and then the finese blending pen lays down alcohol onto the drawing. It blends the colors together as the alcohol binds with colored pencil solution.
Meltz from Holbein Colored Pencil Blender is a blender intended for use with oil-based colored pencils. It is best applied with a brush and crates a watercolor effect for colored oil-based colored pencils. I used this on different colored pencils with various results. It worked best on Holbein Colored Pencils and Polychromos colored pencils. The Meltz comes with a warning not to inhale but does have the AP symbol on it meaning it is safe to use.
Baby Oil can be used with a brush or q-tip over colored pencils to blend colors together and create a watercolor effect with colored pencils. I initially tried this method because Polychromos suggested it in their packaging. I almost did not do it because I did not have any baby oil on hand. The baby oil blending method for blending colored pencils worked better than the Holbein Meltz did. And I liked it too because there were not any unknown chemicals I was putting down on the paper.
Brush and Pencil Colored Pencil Powder is a powder that is preapplied to a surface in order to achieve a blend. It is very messy and a method I would not recommend because there are plenty of other methods that produce easier results with less mess. It is hard to control where the powder goes and may land in places blender is not wanted. I am glad I tried it, but I will not use it often.
Results

All the blending methods produced different results depending on the colored pencil used. The pencils that performed the best for blending in my opinion were the Faber-Castell Polychromos colored pencils. The ones that performed the worst were the Faber-Castell Goldfaber colored pencils. The Crayola blended a lot easier than the Goldfaber. Prismacolor Premier colored pencils performed the best of the wax based colored pencils.

Read More »