



Colored Pencil Blending...it was something I wanted to do a deep dive into, I even bought all the supplies for it a year ago, but never got around to it. But in the beginning of 2022 I knew I wanted to give it a go. I created a chart, grabbed all the colored pencils I wanted to try and pulled out all of the different blenders I had collected. The results I found were super interesting.
This blog post contains affiliate links.

10 Different Ways to Blend
10 Different ways of blending colored pencils include:
- Layering
- Burnishing
- Burnishing with a White Colored Pencils
- Caran d'ache Full Blender
- Lyra Splender
- Prismacolor Colorless Blender
- Finese Pen
- Meltz from Holbein
- Baby Oil
- Colored Pencil Powder
Wax Vs Oil Based Colored pencils
The different colored pencils will blend differently because the colored pencils are comprised of different materials. A colored pencil can either be wax or oil based.
Wax based colored pencils use wax to bind with the pigment and then are encased in wood. They are generally softer than oil based colored pencils and blend really well if the wax is high quality. This also means the wax based colored pencils will break more easily. Wax based colored pencils are also more prone to blooming, ie when the wax comes out of the pencil and appears as a white film on the colored pencil lead.
Oil based colored pencils use oil to bind with the pigment of the colored pencil and are also encased in wood. Oil based pencils are usually the more professional art supply because they create a more polished look than the wax based colored pencils.
It seems to be a secret which colored pencils are wax based and which are oil based. It is not directly advertised on the packaging.
For the colored pencils I used in this experiment the following pencils were wax based:
The following pencils were oil based:
10 Blending Methods Explained and Tested
Here are the results with each method explained. I tested these all on Neenah Bristol Cardstock, which is not super toothy but enough so to really get the pigments out of these pencils. The results vary depending on how well the blender was able to mix with the colored pencils. I will warn that using anything other than the blending methods provided by a company may reduce the lightfastness of the colored pencils.
To see me testing each method watch the YouTube video or scroll on to see the results.
Each of these blending methods produces different results and more than one can be used in a drawing or coloring piece.
Layering is putting down one light color at a time. It is the basis for all of the methods below. There is no pushing hard in this method.


Burnishing starts by layering each colored pencil lightly and then at the very end pushing down really hard with each color on the final layers. The colors become very saturated and dark.


Caran d'ache full blender blending starts with the layering method and then uses a colorless blender over the original pigments to bring out the pigments, fill in the white spaces and mix the colors together. This results in a blend that is lighter than the burnishing method, but still very saturated. The Caran d'ache blender was my favorite blender stick or pencil to use. It is not encased in wood, but can be sharpened like a pencil. I have researched and it also comes in a pencil form or just as a full stick. It does say in the product description that the blender will improve lightfastness.
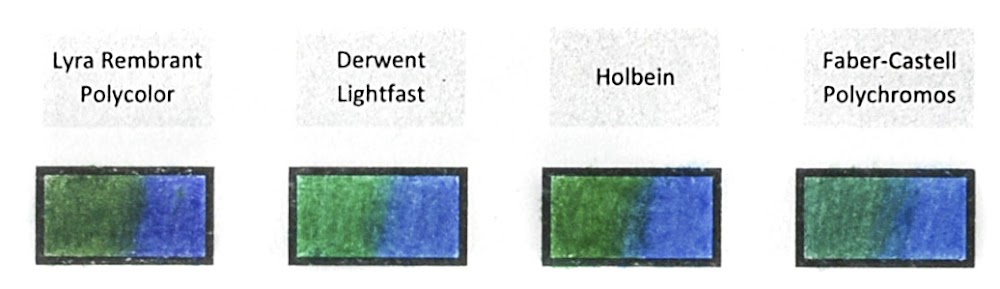


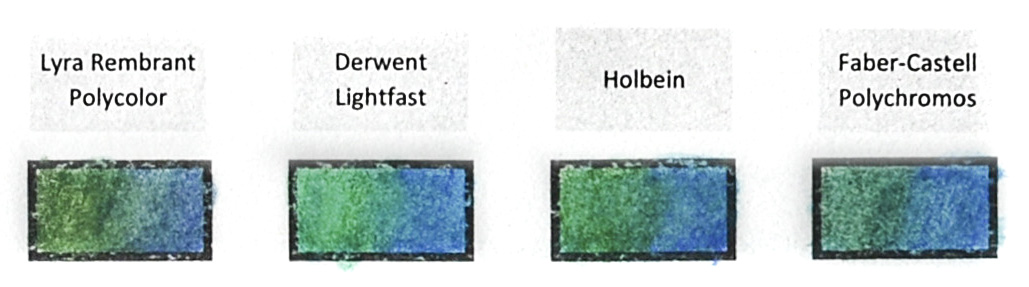
Burnishing with white starts with the layering method and then instead of burnishing with the original colors a white pencil is used. This creates a pastel blend. A lighter color other than white such as gray or another lighter base color could be used also with this method.
The next three blending methods use a colorless blender approach. The colorless blender is applied like a pencil and blends the colored pencil by mixing and unifying colors together. Some colored pencils are easier to blend than others, but for the most part the Caran d'ache did the best job.
Caran d'ache full blender blending starts with the layering method and then uses a colorless blender over the original pigments to bring out the pigments, fill in the white spaces and mix the colors together. This results in a blend that is lighter than the burnishing method, but still very saturated. The Caran d'ache blender was my favorite blender stick or pencil to use. It is not encased in wood, but can be sharpened like a pencil. I have researched and it also comes in a pencil form or just as a full stick. It does say in the product description that the blender will improve lightfastness.
Lyra Splender blending starts with the layering method and then uses a colorless blender to bring out the pigments, fill in the white spaces and mix the colors together. I found that this method left a lot of flakes on my drawing.
Prismacolor Colorless Blender blending starts with the layering method and then uses a colorless blender to bring out the pigments, fill in the white spaces and mix the colors together. This method was most similary to the Lyra Splender. It left a lot of flakes behind and was not as smooth.
Finese Pen blending is basically blending with an alcohol based marker that is packaged as a blending pen. Any alcohol based marker will do. The method starts the same with the layering step and then the finese blending pen lays down alcohol onto the drawing. It blends the colors together as the alcohol binds with colored pencil solution.
Meltz from Holbein Colored Pencil Blender is a blender intended for use with oil-based colored pencils. It is best applied with a brush and crates a watercolor effect for colored oil-based colored pencils. I used this on different colored pencils with various results. It worked best on Holbein Colored Pencils and Polychromos colored pencils. The Meltz comes with a warning not to inhale but does have the AP symbol on it meaning it is safe to use.
Baby Oil can be used with a brush or q-tip over colored pencils to blend colors together and create a watercolor effect with colored pencils. I initially tried this method because Polychromos suggested it in their packaging. I almost did not do it because I did not have any baby oil on hand. The baby oil blending method for blending colored pencils worked better than the Holbein Meltz did. And I liked it too because there were not any unknown chemicals I was putting down on the paper.
Brush and Pencil Colored Pencil Powder is a powder that is preapplied to a surface in order to achieve a blend. It is very messy and a method I would not recommend because there are plenty of other methods that produce easier results with less mess. It is hard to control where the powder goes and may land in places blender is not wanted. I am glad I tried it, but I will not use it often.


Results
All the blending methods produced different results depending on the colored pencil used. The pencils that performed the best for blending in my opinion were the Faber-Castell Polychromos colored pencils. The ones that performed the worst were the Faber-Castell Goldfaber colored pencils. The Crayola blended a lot easier than the Goldfaber. Prismacolor Premier colored pencils performed the best of the wax based colored pencils.



 Here are the Goldfaber colored pencils on bamboo paper. I love the gradients that are possible from the colored pencils.
 Here are the regular colored pencils. They are very similar except the wood color is black. That is nice so the aqua and regular pencils will not get confused with one another.


 Here is the packaging information for the regular colored pencils.
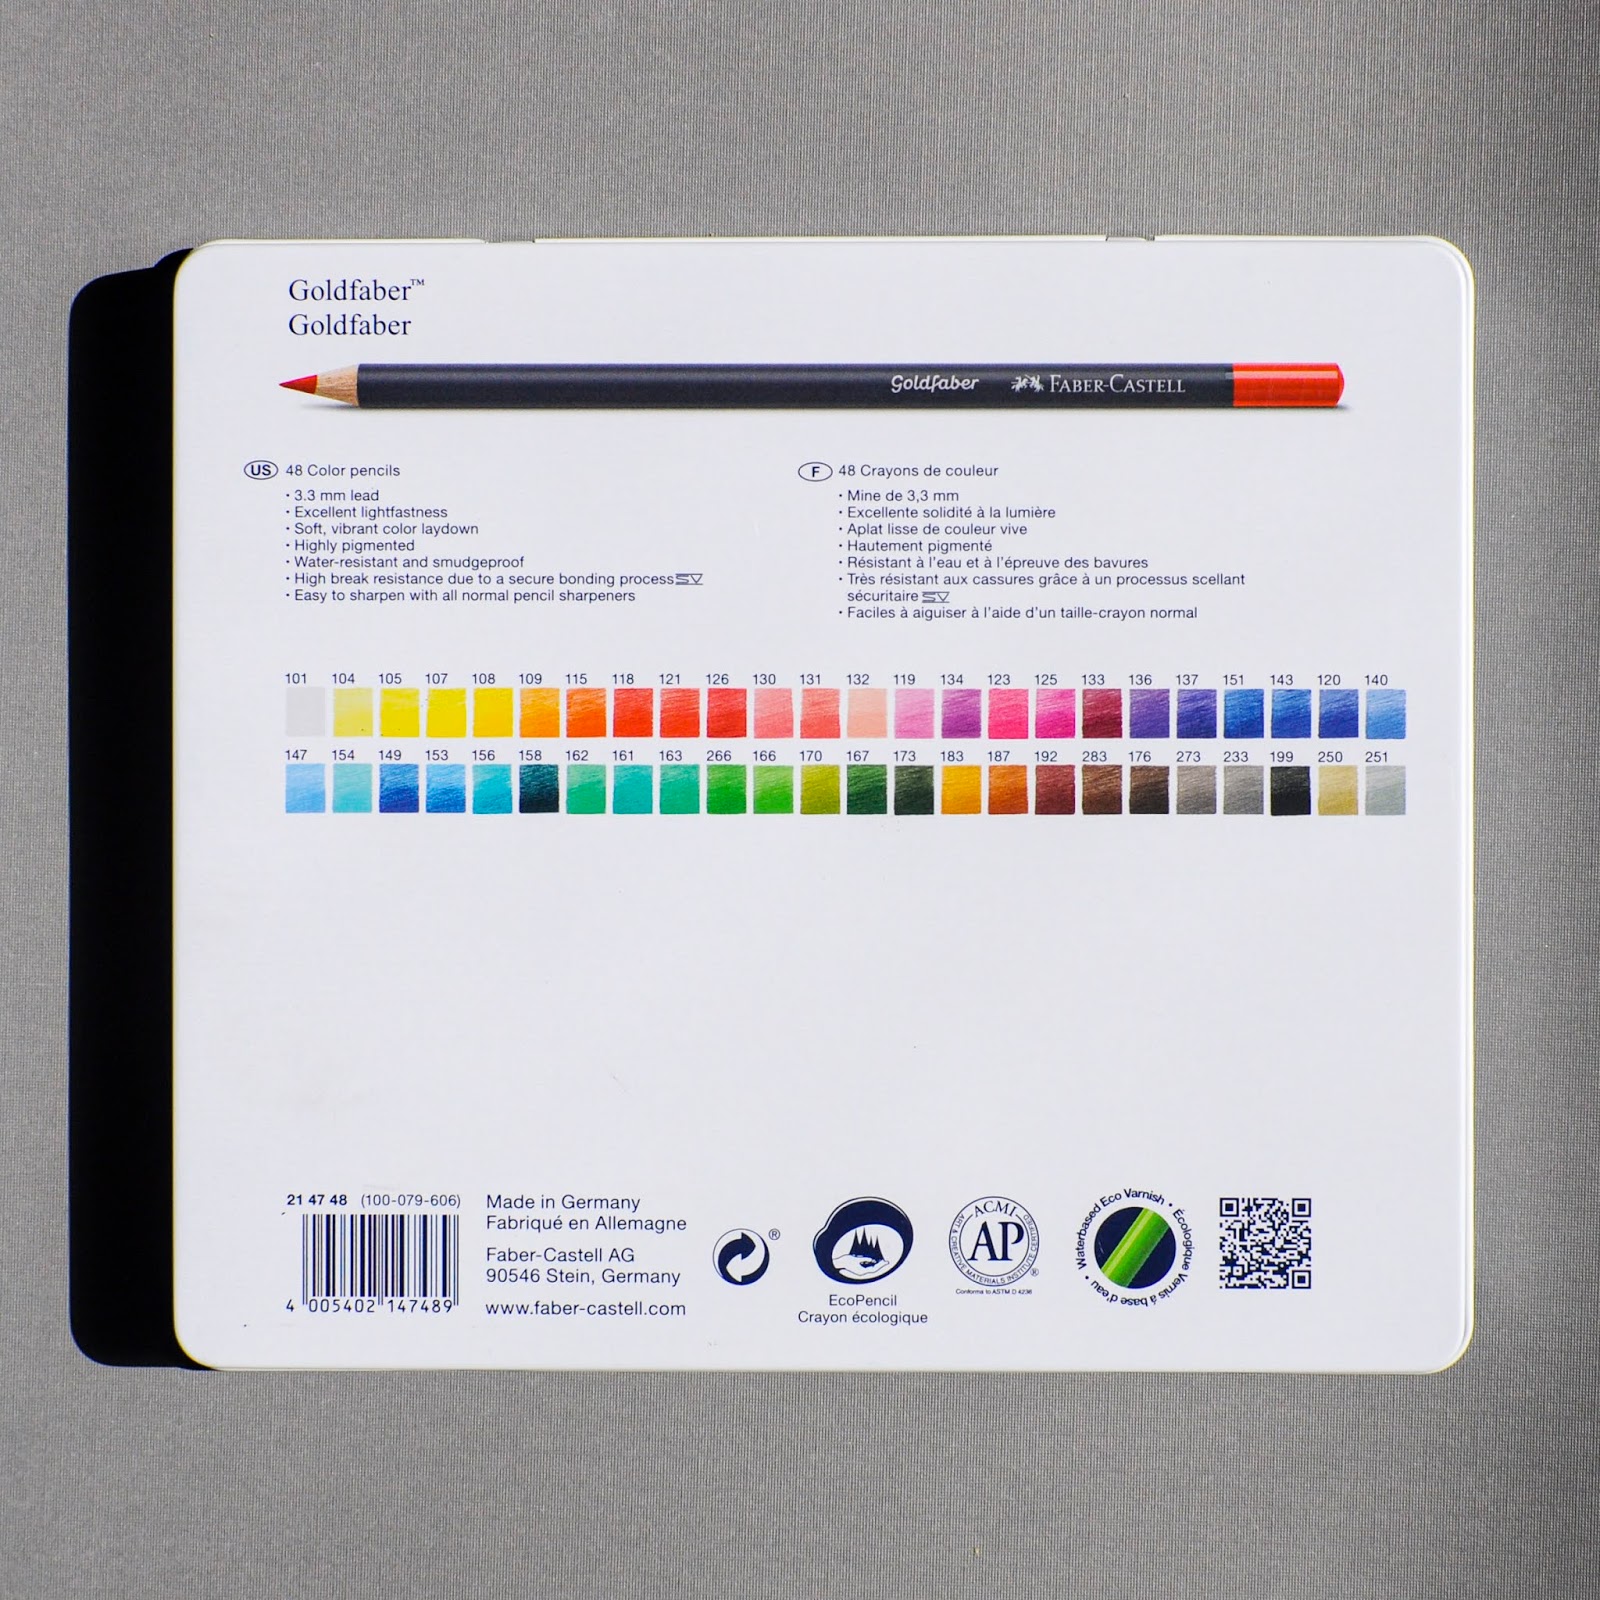 Here is the inside of the tin featuring the Faber-Castell Castle Stein near Nurnberg, Germany.
